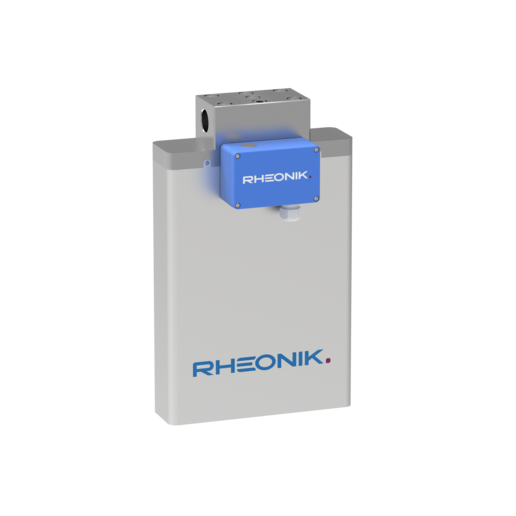
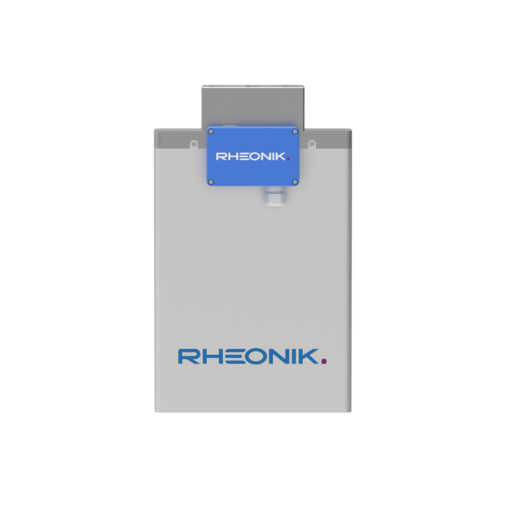
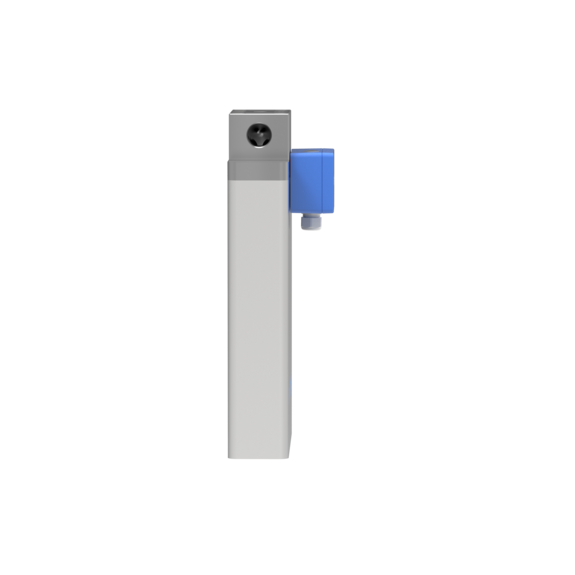
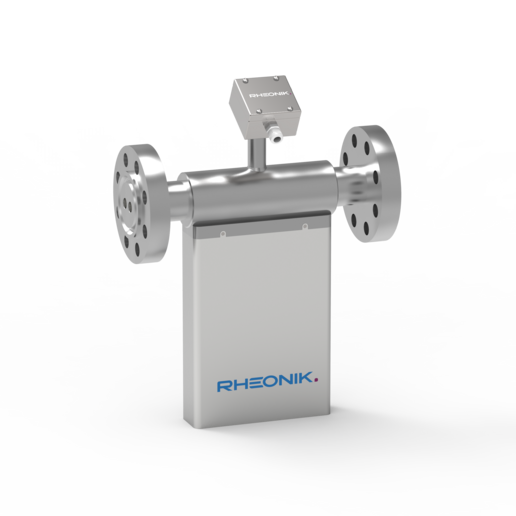
RHM 20
FLOW SENSOR
The RHM 20 is a 2″ meter designed for general purpose flow measurement without the need for maintenance. Robust and accurate, the RHM 20 outperforms other flow technologies at an attractively low cost of ownership.
- Range: 1 kg/min up to 480 kg/min
- Pressure: up to 1137 bar (16490 psi)
- Temperature: -196°C (-321°F) up to +350°C (662°F)
- Accuracy: 0.1 % of rate
- Materials: SS 316L / SS 316Ti, Alloy C22 – 2.4602, Tantalum – UNS R05200, Super Duplex – 1.4410
- Process Connection: 1" up to 2 ½"
Performance Data
Flow Measurement Uncertainty
Selected Sensors down to ±0.10 % ¹ of rate (Gold Line)
Standard Sensors down to ±0.15 % ² of rate
Flow Measurement Repeatability
Down to ±0.05 % of rate
Temperature Measurement
Better than ±1 °C
Density Calibration (Liquid)
Selected Sensors down to ±0.0005 kg/liter (Gold Line)
Standard Sensors down to ±0.001 kg/liter
Measurement Tube Pressure Ratings
The maximum pressure (pmax) of a sensor is determined by its lowest rated part. The lowest rated part can be either the measurement tube (pmax indicated below), the connection block/manifold
(pmax indicated in the mechanical construction section) or the process connection (for pmax see published standards or manufacturer information).
| 50 °C | 120 °C | 210 °C |
|---|---|---|---|
SS 316Ti (standard) | 208 bar | 185 bar | 156 bar |
Alloy C22 | 193 bar | 171 bar | 146 bar |
Tantalum | 44 bar | 39 bar | 36 bar |
Super Duplex | 586 bar | 514 bar | 464 bar |
SS 316Ti (standard) | 250 bar | 225 bar | 193 bar |
Alloy C22 | 260 bar | 232 bar | 196 bar |
Super Duplex | 481 bar | 448 bar | 402 bar |
SS 316Ti (standard) | 392 bar | 345 bar | 300 bar |
Uncertainties and flow measurement turn-down
All uncertainty statements refer to reference conditions – mass flow of water, 18 – 24 °C, 1 – 3 bar in a standard temperature, pressure and material configuration sensor. The sensor can be used to measure gas – uncertainty values for gas equal the liquid value plus 0.3 %. Reference conditions for gas are mass flow of natural gas, 18 – 24 °C, 35 to 100 bar in a standard temperature, pressure and material configuration sensor.
The turn down capability from Qnom of the flow sensor is driven mainly by its zero point stability. At the very low end of the measuring range the uncertainty (u) is dominated by zero point stability. The zero point stability of a standard sensor is: 0.00246 kg/min (0.00542 lbs/min). Zero point stability of a Gold Line sensor is 0.0012 kg/min (0.00264 lbs/min).
For flow Q ≥ zero stability / (calibration uncertainty/100) u = calibration uncertainty
For flow Q < zero stability / (calibration uncertainty/100) u = (zero stability/Q) x 100
Uncertainties from environmental and process conditions
- If sensors are not zeroed at operating conditions, minor additional uncertainties can arise from elevated temperatures and pressures: ± 0.00022 % of maximum flow per °C and ±0.0005% of maximum flow per bar.
- Process temperature effect on density: additional uncertainty of ±0.000071 g/cm³ per °C difference from calibration temperature with standard density calibration and of ±0.000009 g/cm³ per °C difference from calibration temperature with enhanced density calibration. This effect can be mitigated by a simple field density adjustment at operating conditions.
- Process pressure effect on mass flow: The effect of pressure on flow measurement is 0.0001 % of rate per bar. Compensation is possible by pressure sensor input (analog input or digital write) or manual value entry into the transmitter.
- Process pressure effect on density: The effect of pressure on density measurement is 0.000075 g/cm³ per bar. Compensation is possible by pressure sensor input (analog input or digital write) or manual value entry into the transmitter.
(1) Requires 40 Series transmitter or higher
(2) Requires RHE16 or higher transmitter.
(3) Note minimum operating temperature for SuperDuplex stainless steel is -40°C

Couldn’t find what you were looking for?
Contact us with your specification for assessment and availability of other sensor configurations.
Other wetted materials may be possible for chemical compatibility, lower pressure drop, abrasion allowance or other application specific requirements. Rheonik can provide nearly any material for the wetted parts.


